Passport Application through Passport Mobile App
Passport Seva Mobile App
The Ministry of External Affairs (MEA) is the nodal department in India responsible for the issuance of passports. To facilitate this, they have developed a user-friendly Passport Seva Portal, which provides all the necessary information to its users. To simplify this process, the MEA has launched the Passport Seva Mobile App.
Previously known as mPassport Seva Mobile App, the Passport Seva App provides various services that allow users to complete various tasks on the go. The app is available for both Android and iOS users, which they can download from their respective Google Play pr Apple App Store.
Features of Passport Seva App
- The Passport Seva App is lightweight and user-friendly, offering all the services available on the Passport Seva Portal, such as: -
- New Applicant Registration.
- Login facilities for existing users.
- Application for Passport Services.
- Online Payment.
- Schedule an appointment.
- Passport Kendra details
- Fee Details.
- Application Status.
- Contact details and other information.
- This app allows users to register, apply, pay a fee, and schedule an appointment for passport-related services.
- Users can also search for
- Passport Seva Kendra (PSK)
- Post Office Passport Seva Kendra (POPSK)
- Indian Embassy/Consulates in foreign countries
- Police stations for certain states and districts.
- The app also includes a fee calculator, which helps users determine the fees based on the selected services.
- A document advisor helps users identify the necessary documents required for the appointment.
- Applicants can also track their application status with the file number and date of birth. Whereas, dispatched passport delivery status can also be tracked.
Procedure to submit Passport Application through the Passport Seva App
The Passport Seva App allows users to apply for a passport from the comfort of their home. We have shared a stepwise application form submission process: -
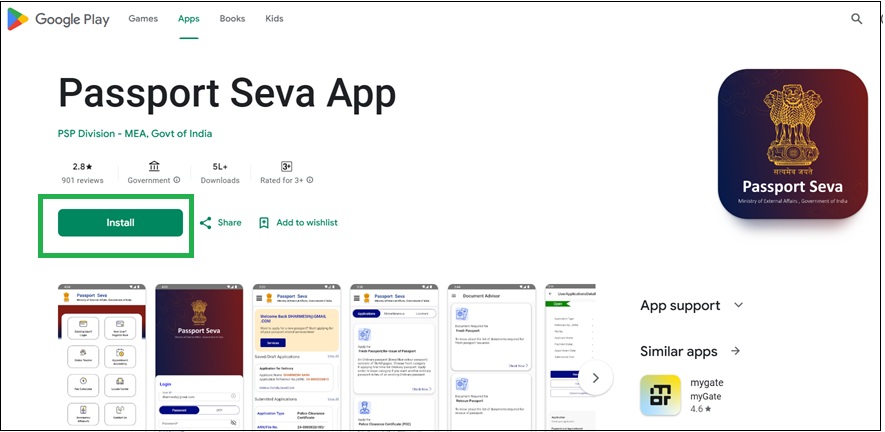
Step-01-Download the App
- To download the Passport Seva app, open the Google Play Store or App Store on your mobile.
- Tap on the download button to start the procedure.
Step-02-Open the App.
Once downloaded, tap on the app icon from the app gallery.
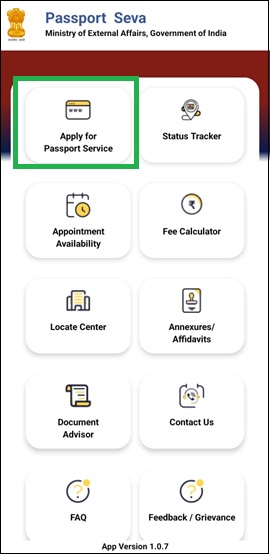
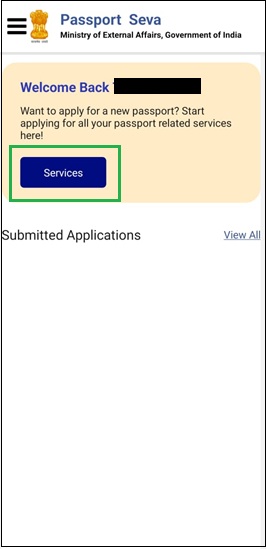
Step-03- Choose the option
To fill out the application form, choose "Apply for the Passport Services".
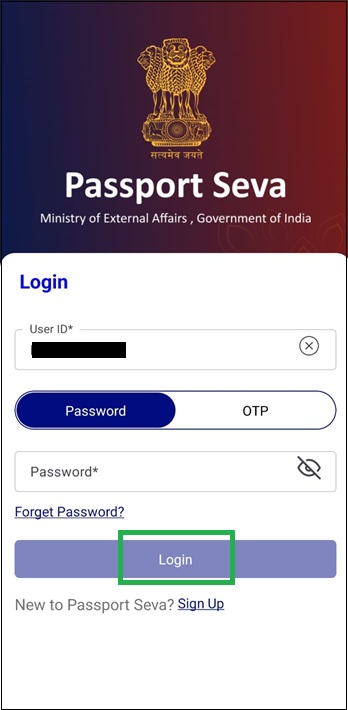
Step-04 - Login Details
To proceed, enter your Login ID and Password, while a new user may register first.
Step-05 -Select Services.
From the list of available services, select the one and proceed.
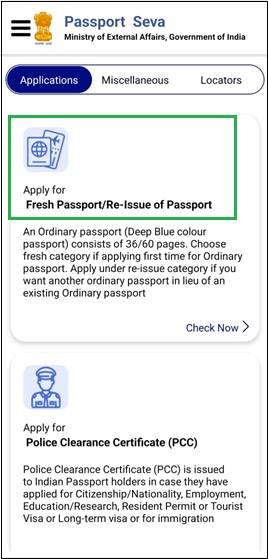
Step-06 -Fill the application form
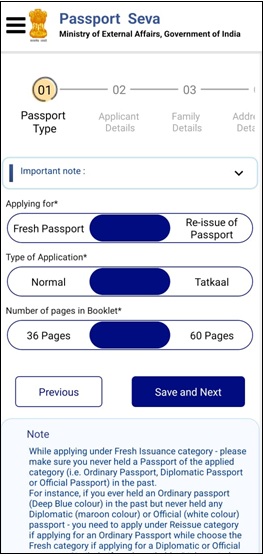
To proceed, choose Apply for Fresh/ Reissue Passport.
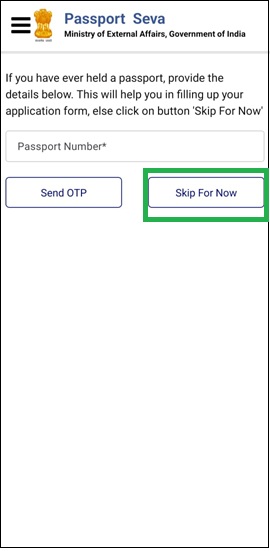
Step-07 - Previous Passport Details
If you already have a passport (valid or expired), provide its number (If any). If not, choose 'Skip now'.
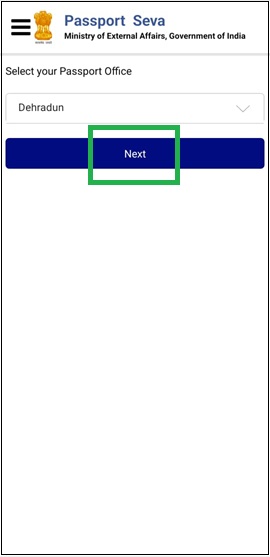
Step-08 - Select Passport Office
From the drop-down menu, select the Passport Office.
Step-9- Choose Passport Type
- Select Fresh/Re-issue.
- Normal/Tatkal.
- Passport number of pages.
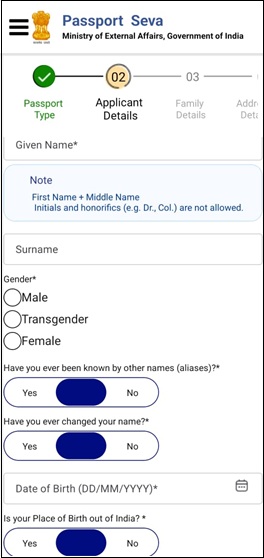
Step-10 -Provide Personal Details
Share your name and other personal details.
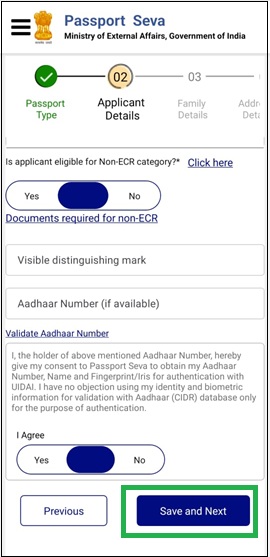
Step-11 - Save Details
During the entire process, press the "Save and Next" tab.
Step-12 -Provide Family Details.
Enter Mother's and Father's names as written on the documents.

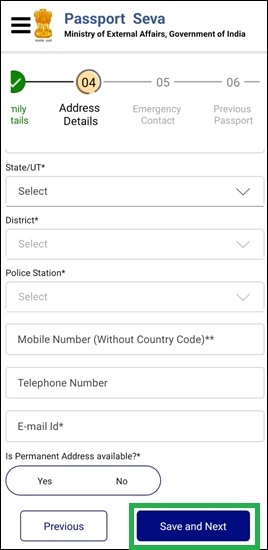
Step-13 - Address information
Share your address details, as written on the identity proof.
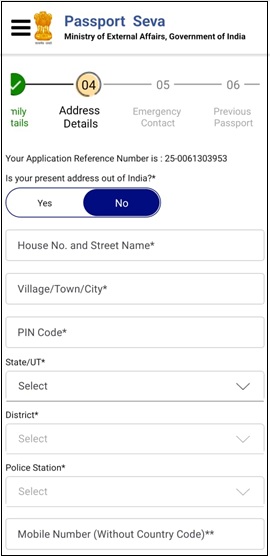
Step-14- Address Details
If both current and permanent addresses are different, mention the same in the respective fields.
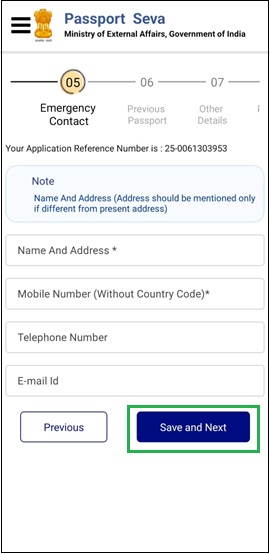
Step-15- Emergency Contact
Provide the Emergency Contact Number, which can be contacted in adverse conditions.
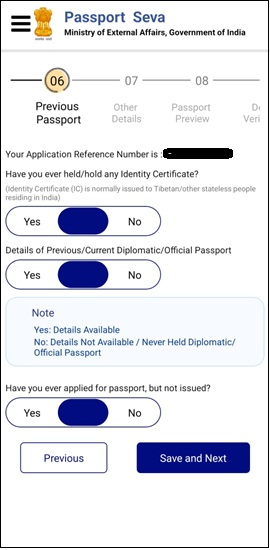
Step-16- Current Passport Details
If you have applied for the passport previously but the passport was not issued, provide the application file number and other requested details. Tibetan Refugees and nationals of other countries residing in India with an Identity Certificate must share their details.
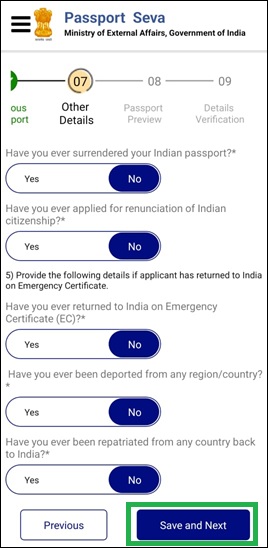
Step-17- Emergency Certificate and Legal Cases.
If you have obtained an Emergency Certificate (EC) to travel to India, provide its details. In addition to this, if you have pending legal or criminal cases must share their details; otherwise, opt 'No'.
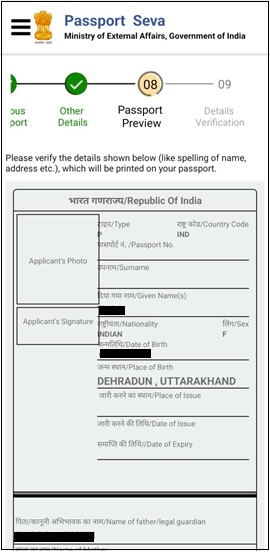
Step-18- Preview Passport
You can preview how your passport will look once printed.
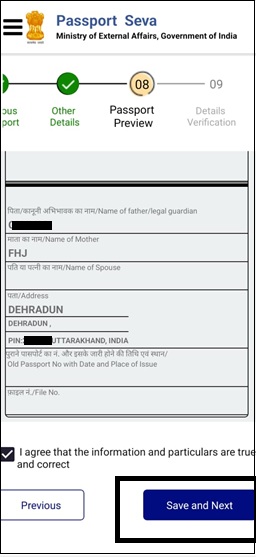
Step-19- Save the details
Click on the 'Save and Next' to proceed.
Step-20 Choose Documents
Choose the date of birth and address proof to be presented at the Passpost Seva Kendra. Save the form and proceed.

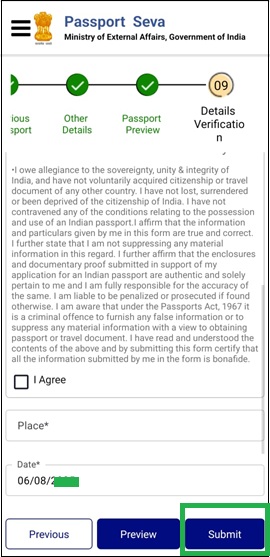
Step-21- Agree
Once all details are submitted, press the 'Submit' tab to pay the application fee.
Step-22- Pay and Schedule Appointment
Tap on the pay fee and schedule your appointment.

Step-23- Check details
Before submitting the application fee, ensure the name and date of birth are mentioned correctly.
Step-24- Pay Online
Read the payment-related details, and click on the 'Pay Online' to proceed.
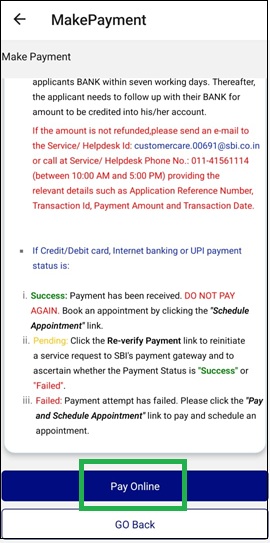
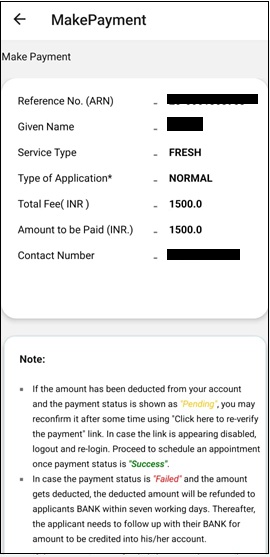
Step-25- Make Payment
Appointment availability details appear on the screen Tap the 'Make Payment' button to proceed.
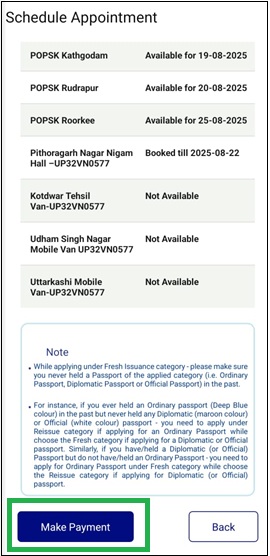
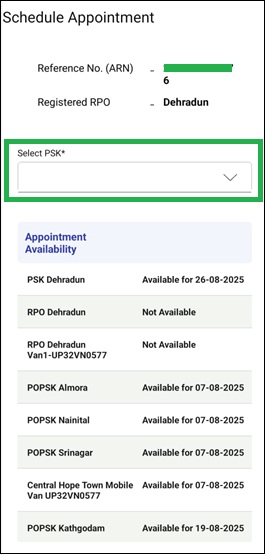
Step-26- Confirm Appointment Date
Select the Passport office from the drop-down and confirm appointment.
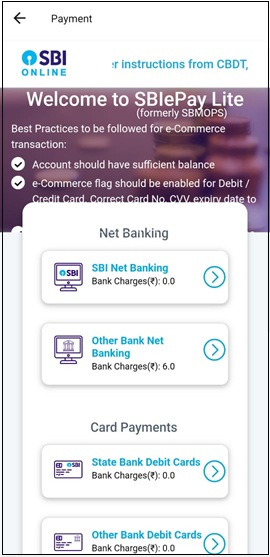
Step-27- Choose Payment Mode
From the available options, choose the payment method to complete the payment.
Step-28- Check Details
After successful payment, check all details.
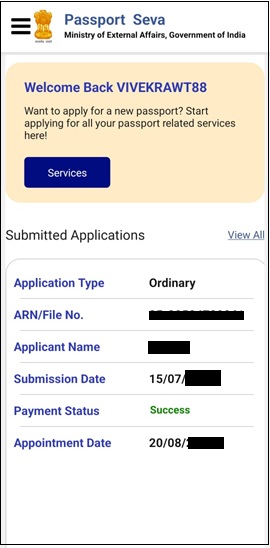
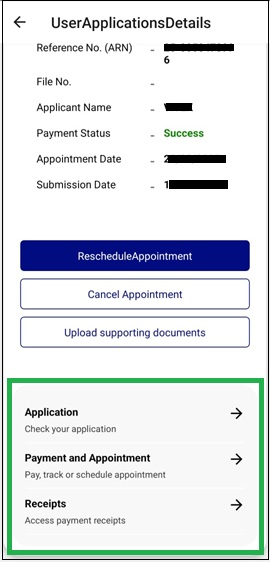
Step- 29- Check Application Status
You can check the application status/ appointment letter.
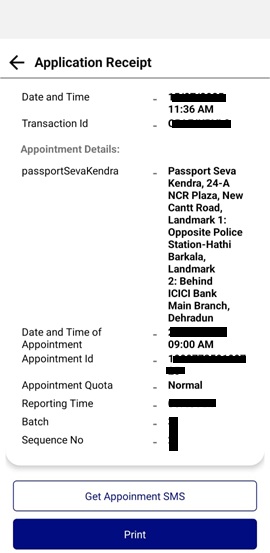
Step-30- Visit Passport Seva Kendra
On the appointment day, bring the appointment letter and all documents to the Passport Office.
Note *
On the appointment day, visit the Passport Seva Kendra at least 15 minutes before the given time with all documents and their copies.
Passport Seva App (Android Users)
Passport Seva App (iOS Users)

Add new comment